Written By: Robert
This is actually quite easy and will take about ˝ hour total for both wheels.
If your removing both wheels always remove the rear wheel first.
Rear Wheel:
- Put the bike on Center Stand.
- Pull Cotter Pin out of rear axle nut.
- Loosen rear axle nut. 27mm socket (Sears sells them).
- Loosen both 12mm locks nuts for the chain adjuster.
- Screw chain adjuster bolts a few turns into the swing-arm.
- Slide wheel forward, remove chain from sprocket. Let it hang over the swing-arm.
- Remove axle nut, and pull the axle out.
- To remove the brake caliper pull the wheel back until the brake caliper guide has
cleared the swing arm guide, once cleared the caliper slides right off the disk.
- Now that the wheel is off pull the 2 spacers out (one on each side), you will see
the ball bearings inside.
Note: if you don’t pull the spacers out of your wheels, the dealer will.
They do not need the spacers for balancing the wheel.
Remount is in the reverse order. Note: Put a thin layer of grease on the ball bearings before
putting the spacers back in the wheel. Torque rear axle nut to 80ft-lbs.
Front Wheel:
-
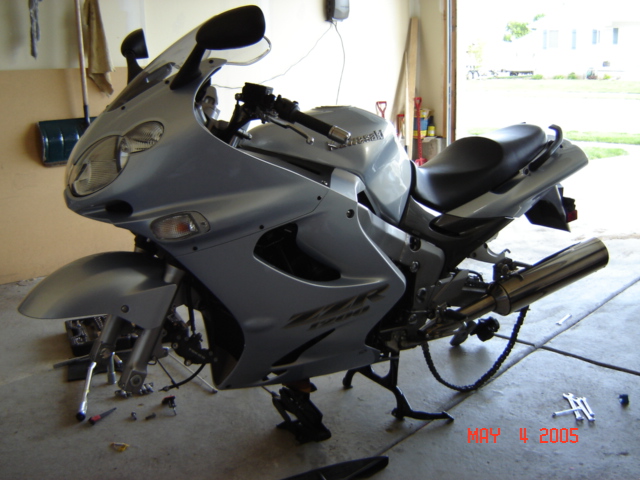 Put a car jack (the kind that telescopes) underneath the headers (approximately 1 foot
in front of the center stand underneath the bike). Note: With the rear wheel off you will
be able to Jack the bike up high enough to remove the front wheel without removing the fender.
See pic
Put a car jack (the kind that telescopes) underneath the headers (approximately 1 foot
in front of the center stand underneath the bike). Note: With the rear wheel off you will
be able to Jack the bike up high enough to remove the front wheel without removing the fender.
See pic
- Remove the reflectors 8mm socket.
- Remove the 2- 12mm bolts that hold the brake calipers on. The brake calipers will slide right
off, just let them hang there.
- Remove speedometer cable (use pliers).
- Standing in-front of the bike facing the headlights your going to want to loosen the pinch bolts
on the left side only, for now (no need to remove --- just loosen).
-
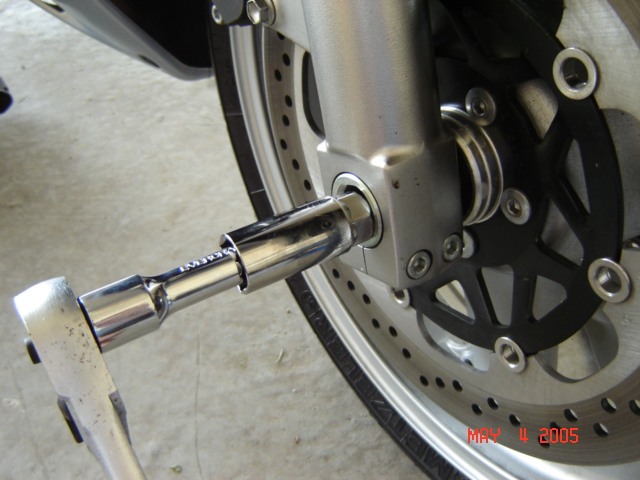 Loosen the axle bolt, you can use a spark plug socket from Sears or Napa – I use the Napa with a
˝ inch drive and 6” extension. The Napa fits Perfect, BUT YOU MUST ASK FOR SOCKET PART # NTD626S
(because Napa carries more than one 13/16 socket and this is the one that fits)---it’s like it was
made for the ZZR, and this socket fits the ZX-14 front axle perfectly as well. See pic
Loosen the axle bolt, you can use a spark plug socket from Sears or Napa – I use the Napa with a
˝ inch drive and 6” extension. The Napa fits Perfect, BUT YOU MUST ASK FOR SOCKET PART # NTD626S
(because Napa carries more than one 13/16 socket and this is the one that fits)---it’s like it was
made for the ZZR, and this socket fits the ZX-14 front axle perfectly as well. See pic
- Now that the axle is loose, loosen the pinch bolts on the other side.
- Remove axle, as you pull the wheel off pay close attention to the speedometer housing and the little
notch where it fits into the forks. The front wheel only has 1 spacer, pull it out.
- Pull the speedometer off the wheel receiver.
Everything goes back together in the reverse order. Leave all 4 pinch bolts loose while torqing the axle down
to 94ft-lbs. Then torque each pinch bolt to 18ft-lbs.
This is what a bent receiver looks like....
 Critical: When mounting the front wheel make sure the speedometer is correctly seated in the wheel
receiver before mounting. It’s like putting a puzzle together --- look inside the speedometer housing, you will
see 2 small notches, match those notches up with notches on the receiver. Do this BEFORE applying 94ft-lbs of
torque to the front axle nut and make sure the wheel spins freely. If it spins freely (while the brake calipers
are off) you did it right.
Critical: When mounting the front wheel make sure the speedometer is correctly seated in the wheel
receiver before mounting. It’s like putting a puzzle together --- look inside the speedometer housing, you will
see 2 small notches, match those notches up with notches on the receiver. Do this BEFORE applying 94ft-lbs of
torque to the front axle nut and make sure the wheel spins freely. If it spins freely (while the brake calipers
are off) you did it right.
I made the mistake of putting 94ft-lbs of torque against the receiver (the speedometer was not seated correctly
the notches where not lined up), then on top of that mistake I didn’t spin the wheel which would have caught the
problem because it did not spin freely. I caught my mistake after riding almost 200 miles, when the wheel started
making a loud Squeak, Squeak, Squeak and ever turn and it got hot. When I pulled the wheel off to find the problem,
my speedometer receiver was bent, with a jagged edge from riding on it. Temporarily I had to take a file to the
jagged edges and then bend it back into shape with a pair of pliers. Then I ordered a new receiver from bike bandit.
NOTE: There is so much free play inside the speedometer housing that your receiver doesn’t need to be perfect for
everything to work (it’s not a tight specification). Just make sure everything is spinning freely before riding and
that there is no rubbing sound at all. If you mess up your receiver it may take a few small adjustments with pliers
bending it back into shape.
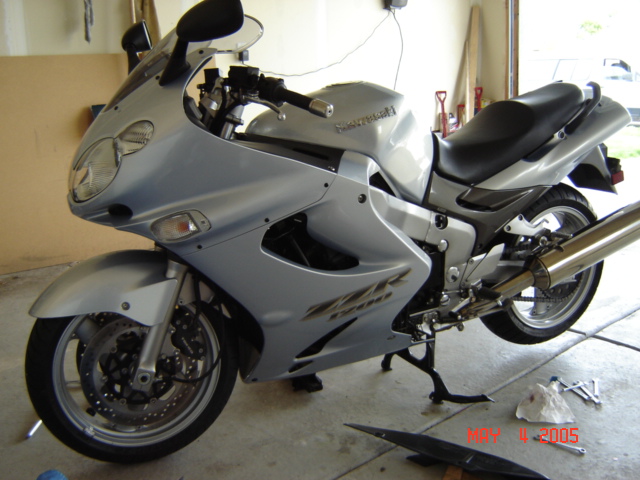
The wheels back on the bike,... whooohooo!!!
After both wheels are installed pump your brakes several times!!! Double check all torque settings. Make sure wheels
spin freely BEFORE riding.
Torque Settings:
Front axle nut: 94ft-lbs
Rear axle nut: 80ft-lbs
Front axle pinch bolts: 18ft-lbs
Front caliper bolts: 18ft-lbs
This article works on the ZX14 as well, the only difference in the torque. Which is 94ft-lbs on the front and back axle.
It's so easy even she could do it....