|
|
|
Written By: Pascal
Parts Required:
Power Plate - provides a safe way to distribute power - Check
www.electricalconnection.com
Power Plugs - waterproof power connectors. I have heard Powerlet makes a good product
www.powerletproducts.com
Wire - something decent from your local parts store. I recommend 14 gauge, but I am far from an
electrical engineer.
Crimp Terminals - something decent from your local parts store. If they have a few grades get
the good ones.
Heat-Shrink tubing (3M) - make sure it is 3M, the generics suck.
Soldering Tools - soldering iron (nothing fancy is needed), some solder and flux... soldering is
always the best way to go!
Electrical Tape - some 3M electrical tape (don't cheap out, nice bike, nice tape).
Wire Ties - wire ties in color of choice (or availability).
Wire Stripper - wire stripper of choice.
FYI, I used plugs from radio shack that are not designed for outdoor usage. I have spent many hours riding
in the rain and have had no problems. I am planning on replacing the plugs with Powerlet plugs this winter
just to be safe. (Editor's note, Powerlet utilizes BMW-style plugs for a secure, weatherproof connection)
First off lay everything out...
- Remove the seat
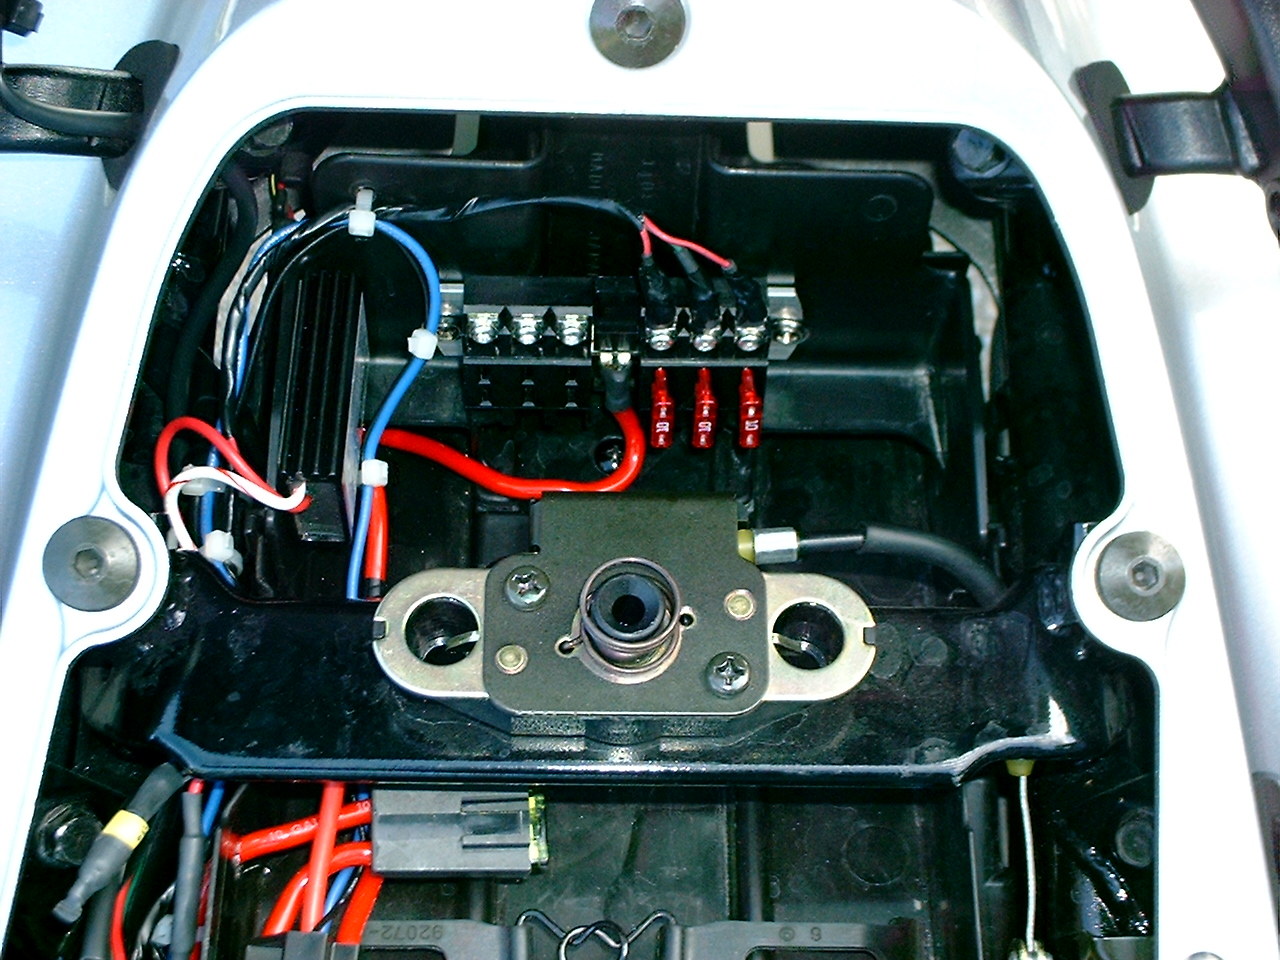
- Determine the mounting location for the power plate. You can look at the picture below for the location
I picked, I have no regrets on this location. If you go somewhere else try to find a somewhat dry spot. Also
make sure you can get to the battery and have room for the relay. The powerlet page mentions that their
connector requires handlebar risers and a 90 degree plug. Keep that in mind.
- Mount the power plate and relay
- Next find the route you are going to take for getting the wires from the rear to the front of the bike.
I don't remember my exact path, but I remember struggling to avid the engine.
- Once you have the route "dry fit" one wire, leave about 2-3 extra feet on the end. I do remember removing
the dark grey side panel and loosening the side fairing. (and needless to say you need to remove the dash panel
of choice) NOTE: only route the positive wires (one per plug)
- If you are running multiple wires lay them all together and spiral wrap the tape around the wires so they
stay together and are protected. leave 1 foot unwrapped at each end. don't get carried away, a slight overlap
is all you need.
- Depending on your preference you can install the wire and then solder it to the plug or the other way
around. I don't like soldering near paint so I soldered the wires to the connectors away from the bike. Remember
to place an inch or so of heat tubing over each wire before connecting it to the power plug. This way you can
slide it over the connection and seal it. If you have never used shrink tubing before experiment first. just cut
a piece, slide it over the wire and rub the soldering iron against it. The 3M stuff shrinks pretty good. keep in
mind that you need to make it over the metal connection and solder! Find a grounding point and ground power
plug.
- At this point you should have the wire installed and the front and side of the bike assembled
- Now route the wires under the seat keeping them wire-tied and away from harm.
- Once you get close to the power plate cut the wire with some room to work
- Strip the wire end, slide some shrink tubing over the wire, crimp end which will attach to plate, shrink
tubing, attach connector. repeat for each wire.
- Now to fire up the power plate, find a good ground, I think I used the helmet holder (finally a real use
for it)
- Now the hardest part, the relay needs a trigger point. I found the rear tail light wire (comes on and off with
the bike). I used a probe to find the wire. Unfortunately I am in Taiwan and don't have the bike to look at. Maybe
someone can look of the wire color code. In any case I tapped into it by the wire bundle under the front part of
the seat. (I'm going by memory here)
- Patch in the trigger wire for the relay
- Attach to battery
- Now the rewarding part...turn on the ignition
- Use a volt meter to check the power plate connections
- Use a volt meter to check the power plug
- Wire up and plug in your favorite accessories.
Enjoy!
| 
| 
|
| The power plate under the rear seat
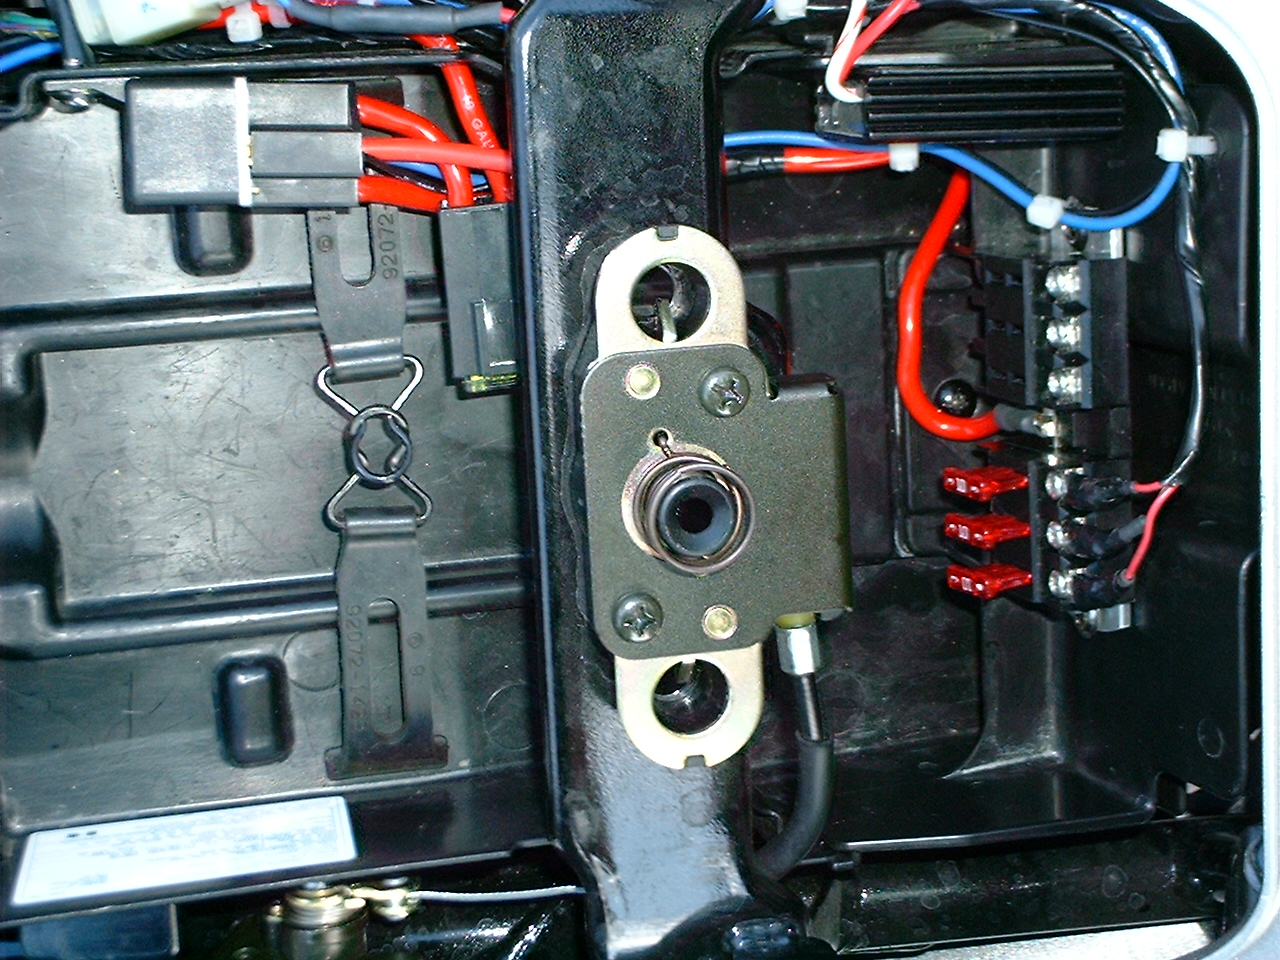
| Another view of the power plate
| And another view
|
|
|

| 
| 
|
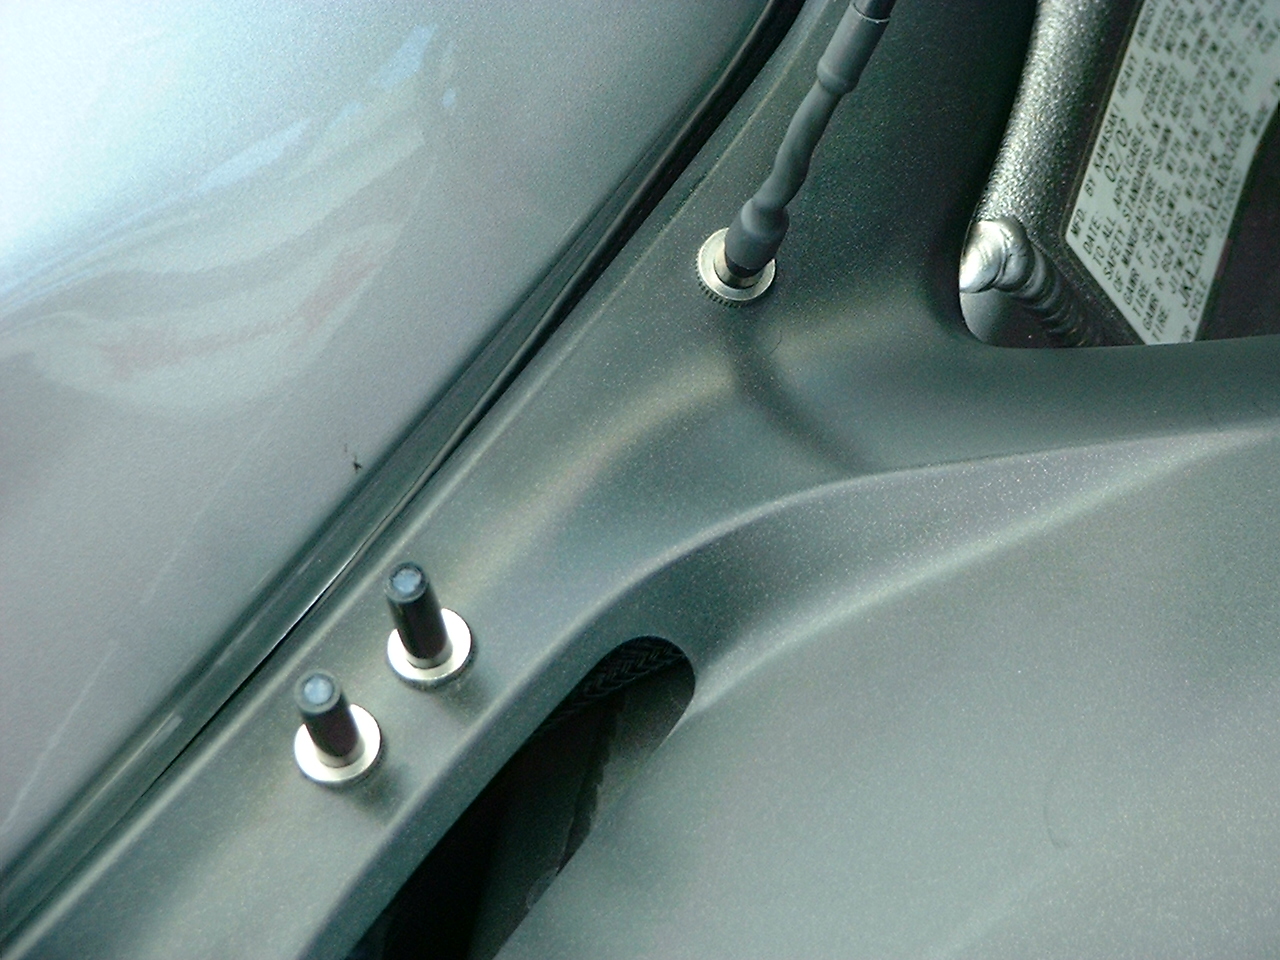
| The plugs I used (from Radio Shack)
| Note the shrink tubing on the connected GPS:
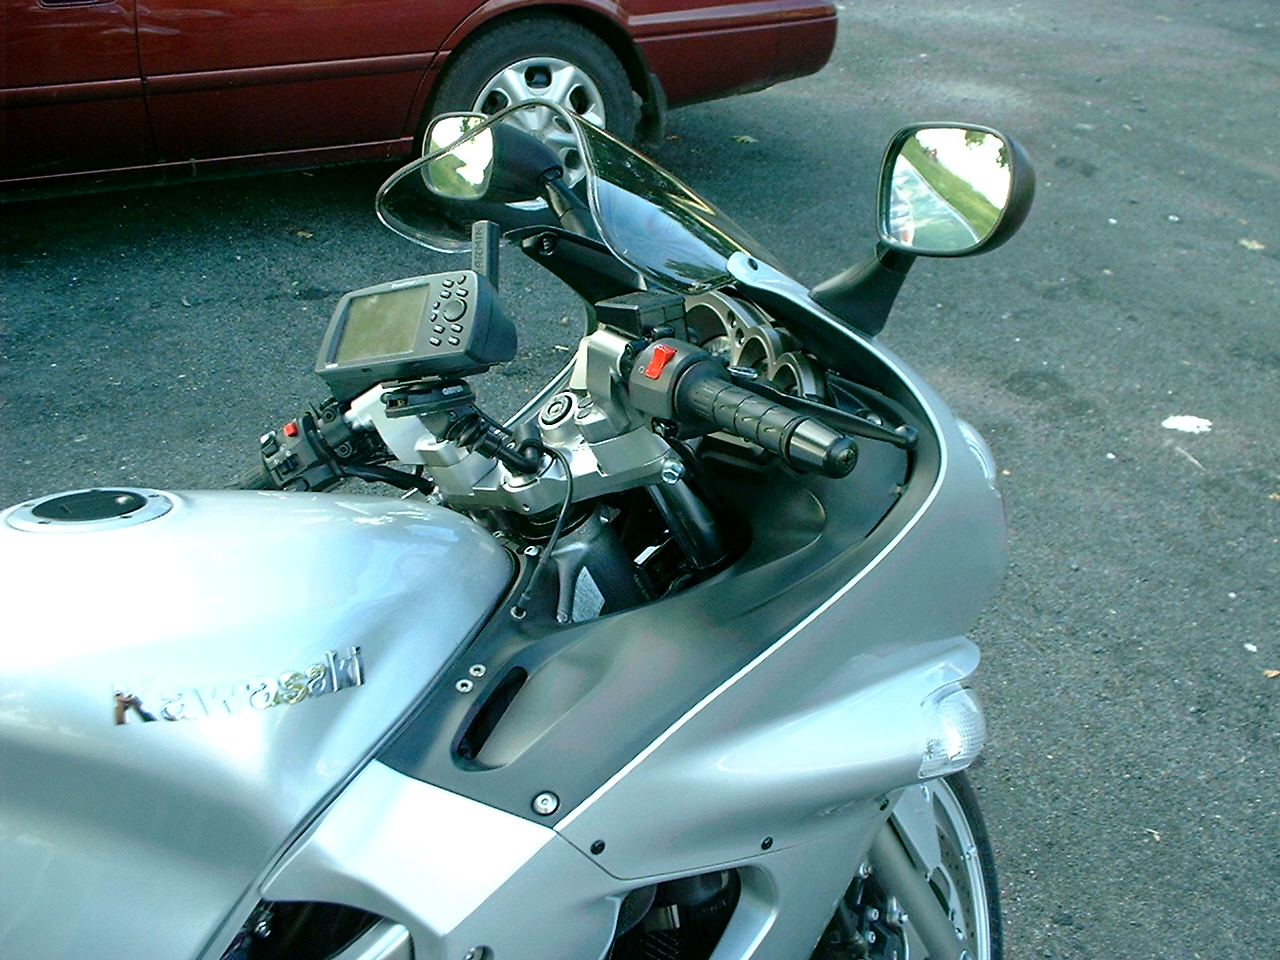
| And the finished result
|
|
|
|
|
|