|
|
|
Written By: Scott
I ordered a set of MOKO frame sliders to protect my ZZR's plastic in the event of a drop
or accident. Not only do the heavy polyurethane frame sliders protect the plastic, they also
give the bike a racier look.. The MOKO sliders took a little more than a month to arrive at
my residence and cost $150 plus $15 shipping. Frankly, they are overpriced... not that the
quality and finish aren't top-shelf, it is - this is a great looking product. It just seems
that cost outweighs the relative value. Just my opinion though... read on for the details of
the installation.
The installation instructions were almost useless given that they were printed in German.
There are a couple of useful pictures and diagrams, but the installation is pretty straightforward
regardless. The MOKO brackets mount to the tubular subframe that runs vertically next to the engine.
See below for detailed instructions:
|
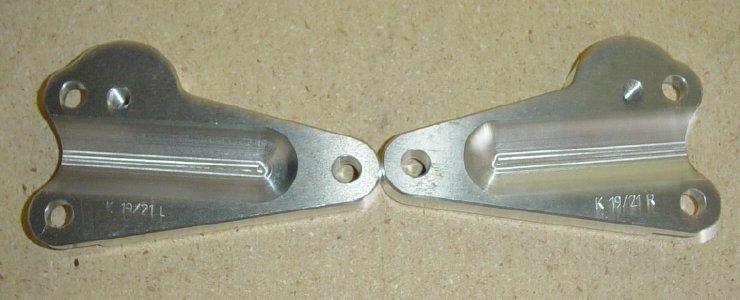
Brackets
The MOKO brackets are marked for the Left (final digit L) and Right (digit R) - obviously they should be installed in the indicated position.
|
|
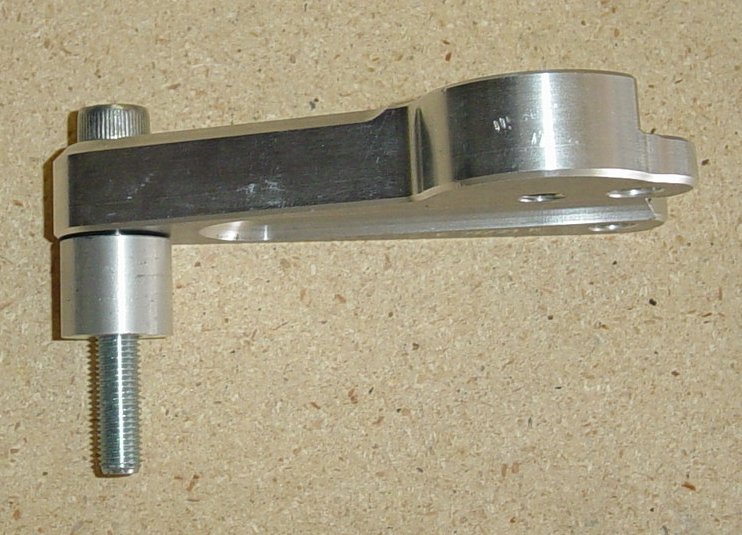
Sleeve
Included with the kit are two aluminum sleeves (one for each side) to be positioned as in the picture.
|
|
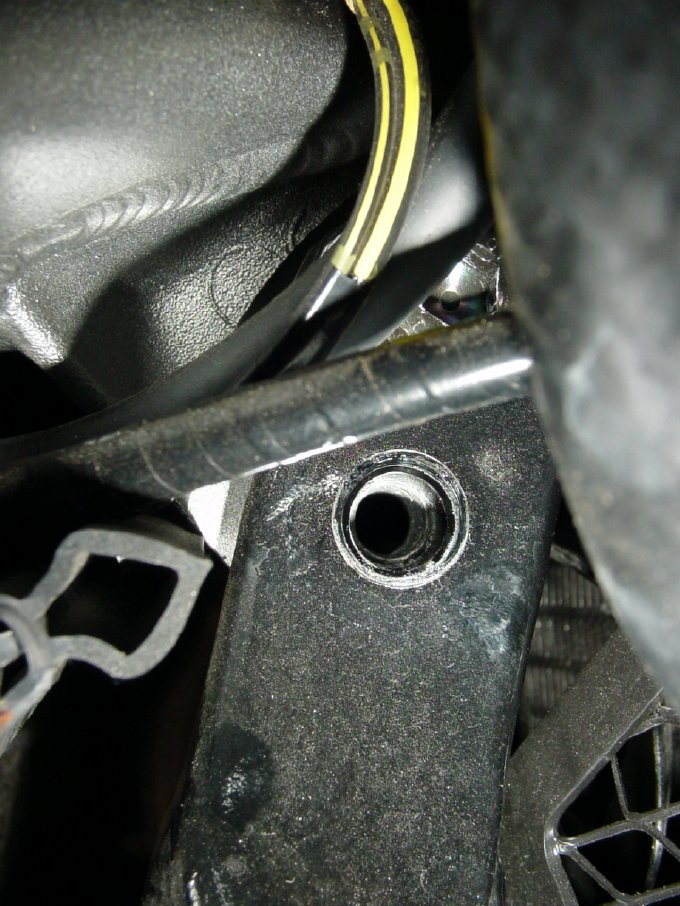
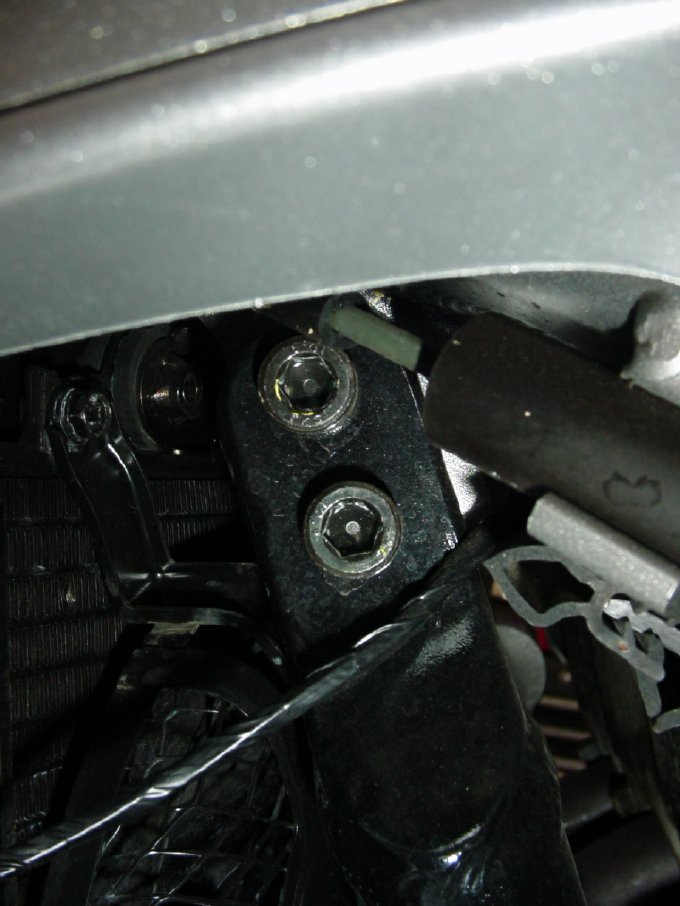
Right Side
Observe the vertical black frame tube. Notice that towards the top, a single allen bolt secures the
upper portion of the tube. This bolt will be removed and replaced with the upper bolt for the MOKO bracket.
After placing the upper bolt in place loosely, install the u-bolt in the bottom position, securing the "U"
around the frame tube. It is important to tighten each side of the u-bolt evenly as not doing so could place
undue stress on the aluminum bracket.
|
|
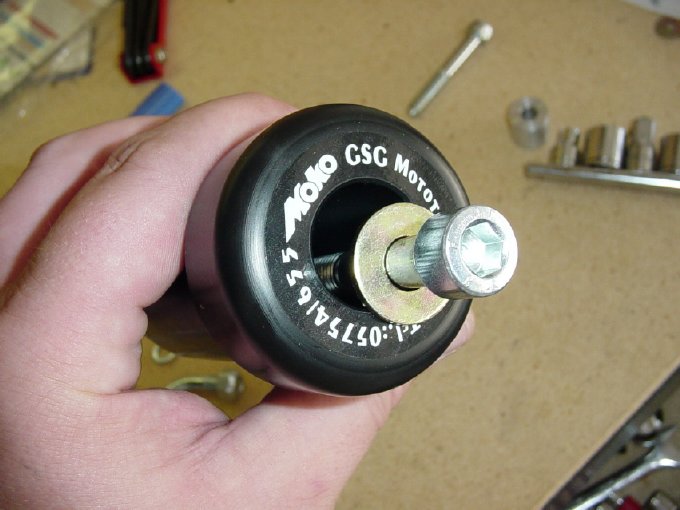
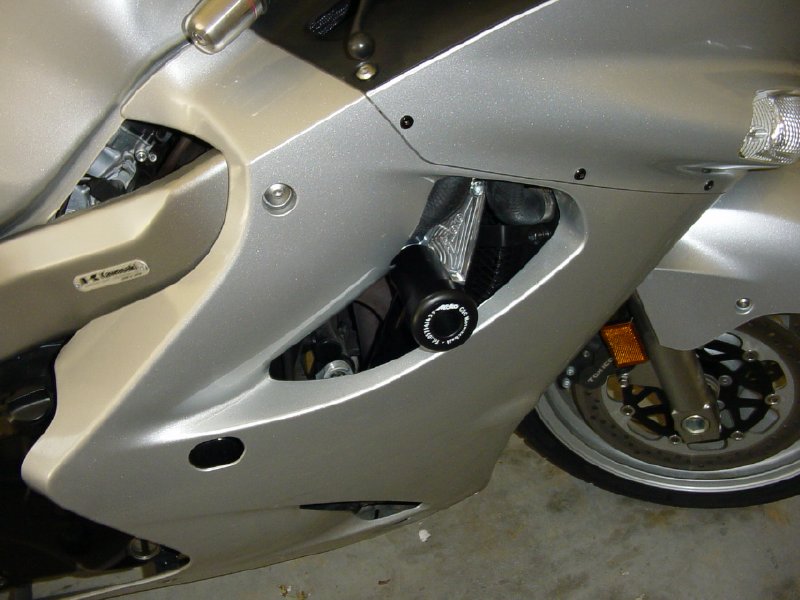
Frame Slider
Install the frame slider onto the bracket, making sure to use the supplied washer as pictured.
There is but one threaded hole in the bracket so this part is pretty much idiot-proof.
|
|
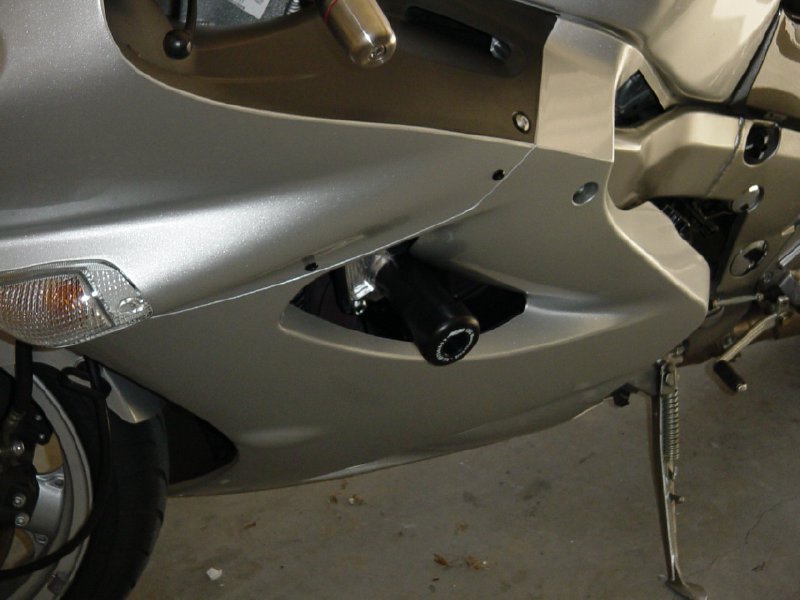
Left Side
The left side of the bike is similar to the right, however there are two upper factory bolts securing
the tube frame. To install the MOKO bracket, remove only the lower of the two bolts and replace with that
supplied with the MOKO kit as done on the right side. Repeat the process of installing the U-bolt, once
again making sure to tighten evenly and properly installing the frame slider as pictured above.
|
|
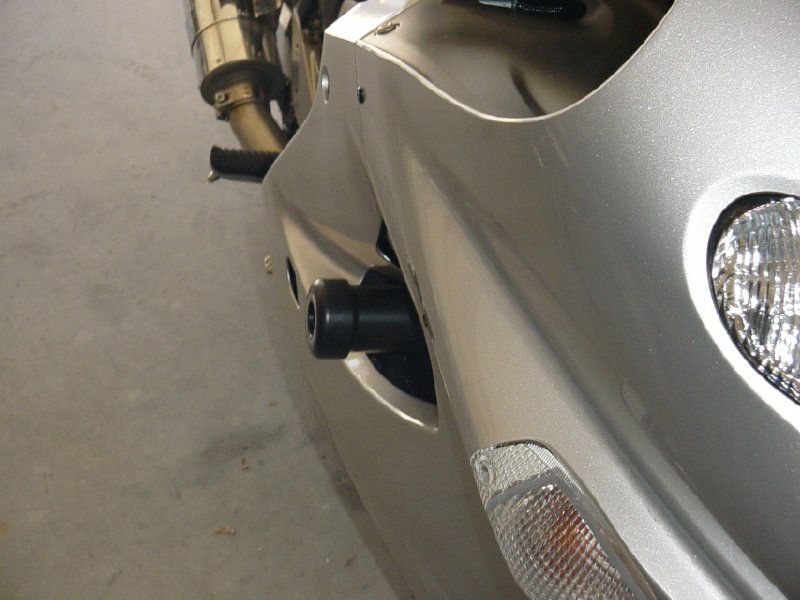
Installation Complete
Your successful installation will take about twenty minutes and should something like these pics.
Notes:
When threading the frame mount bolts, take care not to cross thread the bolts. This was not a
problem for me, but I did feel resistance early in installing the new bolts, backed off and threaded
in the bolt alone to assure the threads were clear.
|
|
|
|
|
|