Written By: Ray - fast911ray
I've noticed a number of inquiries about modifying the ZZR rear mudguard recently. Attached
are photos of my solution which retains the plate illumination and reflector. I found that
removing the entire mudguard [only 4 fasteners] and attacking the problem on a workbench will
simplify the procedure. Using an air saw is best, however for those who do not have access to
such a device, a hacksaw blade will suffice.
Fender/Mudguard removal:
- Remove the seat and any items stowed in the various compartments.
- Next, remove the lower cowling from beneath the taillights by removing the three Phillips-head
screws. Care should be taken not to lose the nylon washers accompanying these screws. In order to
access the center screw, the lamp for the license plate must be moved out of the way. To accomplish
this, remove the two Phillips-head screws that secure it (located inside the fender area). Take care
not to lose the metal washers for the lamp mount.
- Locate the two nuts (inner area) and bolts at the rear sides of the mudguard. These must be removed
using a deep offset 10 mm wrench/spanner and a 10 mm socket on the inner side of the fender.
- The sides of the rear pod will have to be spread somewhat to access these bolts as they are within a
recessed bracket.
- Next, move to the underseat area above the battery.
- There you will find two more 10 mm head screws which are threaded into captive nuts and requiring only
the 10 mm socket and short extension for removal. The brake fluid reservoir may have to be removed from it's
bracket for access to the right-side screw.
- Detach the igniter unit first which is done by simply pulling on it and freeing the two rubber like
rivets securing it.
- The mudguard is now free and easily removed through the underside of the frame.
On the Workbench
At the junction of the vertical and horizontal components you will notice a pronounced seam. It is along
this seam that you will cut, starting at the leading edge and continuing completely around to the other side.
An additional cut must be made to remove the remainder of the hideous protrusion that once carried the tail-light
assembly.
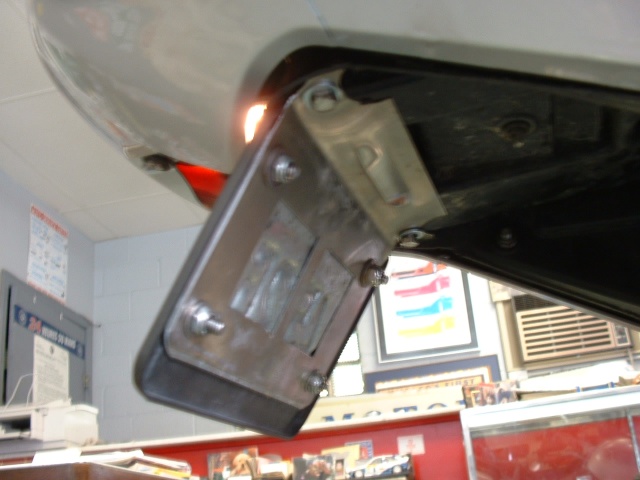
You will want to leave about 1 inch/25 mm length of the upper horizontal surface and about 10 mm thick. This
platform will be used to attach the plate illumination with plastic epoxy, and the reflector at its end, also
affixed with the same epoxy. Simply fashion a plate mount from aluminum stock, drill two holes in it and the
remaining plastic panel, attach with shoulder screws and nylock nuts. The whole procedure will require less than
an hour and a half.
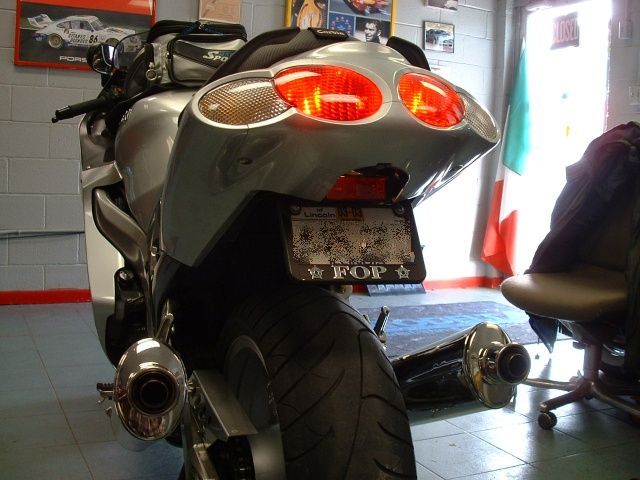
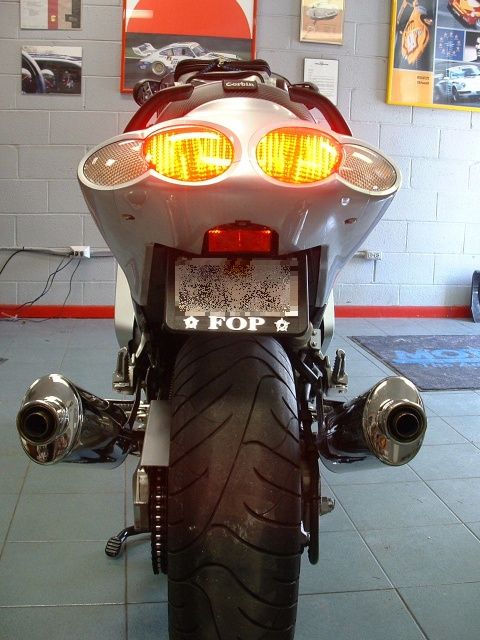
Results: