|
|
|
Written By: Scott
Some ZZ-R1200 owners report a noticeable flat spot from 3,500 RPM to 5,000 RPM due to a lean condition.
This is most likely the result of factory setting intended to provide satisfactory performance while
meeting emissions standards.
Read on for step-by-step instructions for shimming the needles to improve performance:
Carburetor Shim Procedure:
- The necessary shims are 0.125" inside diameter and 0.020" thick and can be found at the local motorcycle
repair shop, dealership parts department or among the unused parts of an old jet kit. Remove the gas tank
and airbox to allow access to the tops of the carburetors.
-
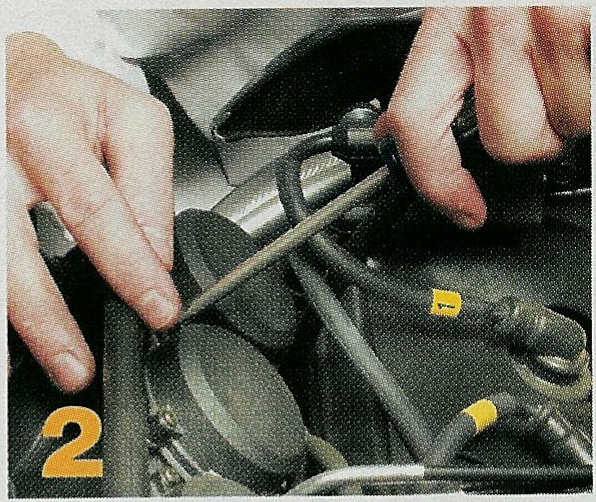 Starting at one end of the carburetor array, remove the 4 screws and plastic cover from the first carburetor.
Hold the cover down while you work as it is under spring pressure from the slide. Remove the spring and carefully
lift the slide out of the carburetor. The edge of the diaphragm may stick in the groove, so gently lift it from
the edges and work your way around.
Starting at one end of the carburetor array, remove the 4 screws and plastic cover from the first carburetor.
Hold the cover down while you work as it is under spring pressure from the slide. Remove the spring and carefully
lift the slide out of the carburetor. The edge of the diaphragm may stick in the groove, so gently lift it from
the edges and work your way around.
-
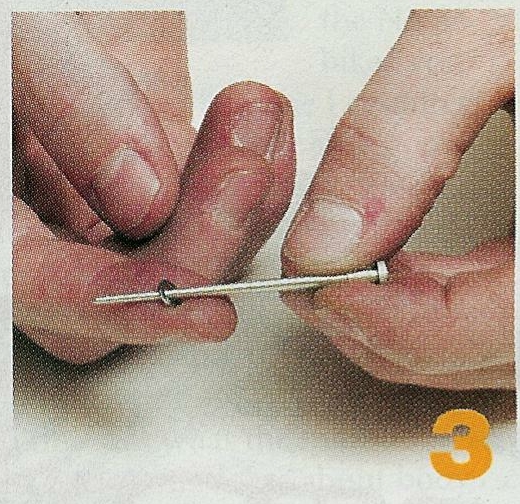 Pull the white plastic holder (it looks like a miniature bar stool) out of the slide, then the needle. The
shim should be added so that the needle sits just a little bit higher and richens the carburetor slightly. Put
the needle back in the slide, making sure the shim stays in place. Next, install the holder and spring.
Pull the white plastic holder (it looks like a miniature bar stool) out of the slide, then the needle. The
shim should be added so that the needle sits just a little bit higher and richens the carburetor slightly. Put
the needle back in the slide, making sure the shim stays in place. Next, install the holder and spring.
-
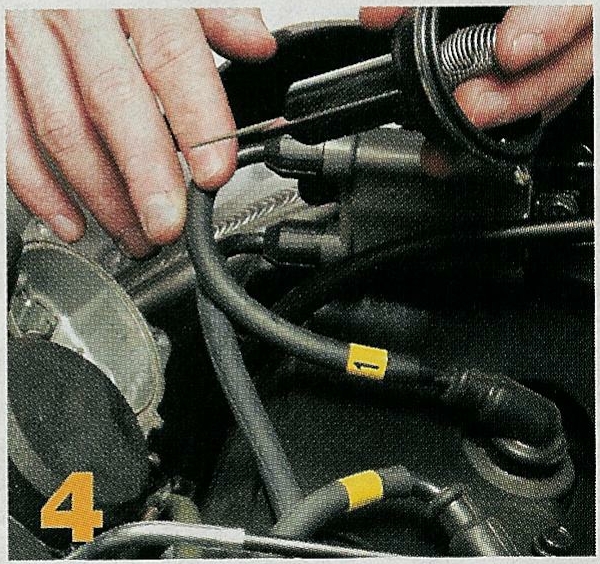 Make sure the needle and holder stay seated properly - slip the slide back into the carburetor while keeping
pressure on the spring. Make sure the needle goes into the needle jet at the bottom of the carb and that the small
protrusion on the diaphragm lines up properly with the carburetor body.
Make sure the needle and holder stay seated properly - slip the slide back into the carburetor while keeping
pressure on the spring. Make sure the needle goes into the needle jet at the bottom of the carb and that the small
protrusion on the diaphragm lines up properly with the carburetor body.
-
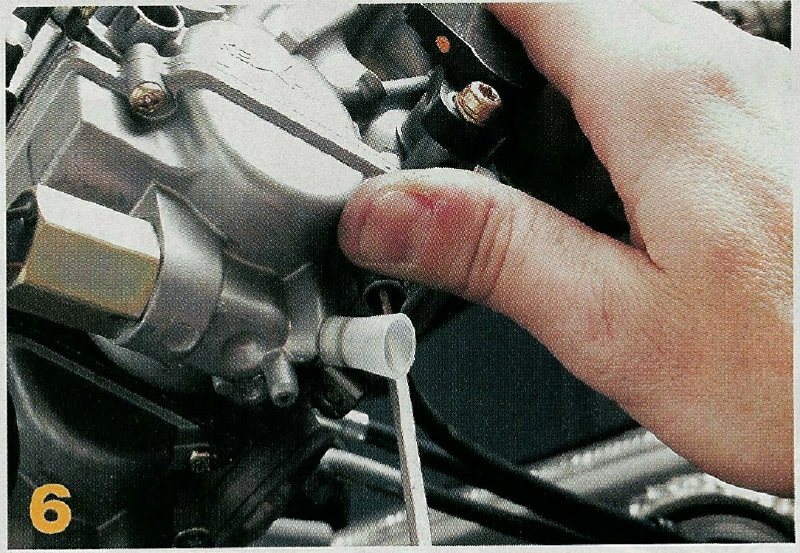
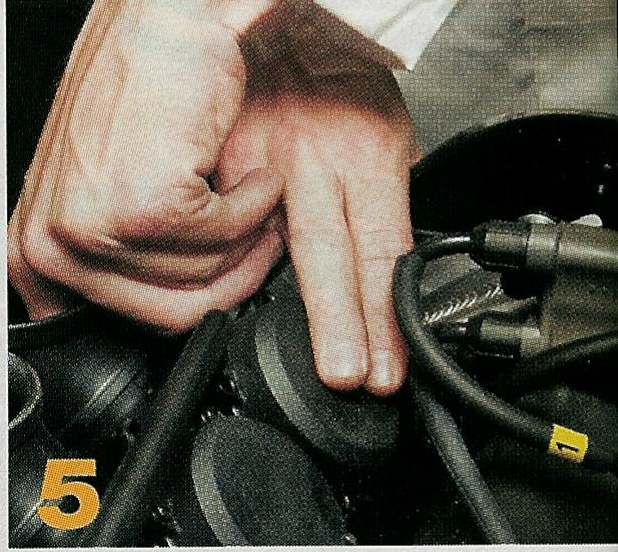 Replace the carb top, being careful that the diaphragm is properly seated in the groove. Using your fingers in
the carb throat, lift the slide and make certain that it returns to the closed position easily and isn't binding.
Compare how it feels to the other slides to check for air leaks. Repeat the process on the remaining carburetors.
Replace the carb top, being careful that the diaphragm is properly seated in the groove. Using your fingers in
the carb throat, lift the slide and make certain that it returns to the closed position easily and isn't binding.
Compare how it feels to the other slides to check for air leaks. Repeat the process on the remaining carburetors.
-
 Loosen the carb clamps and lift the carburetor bank up so that you can access the fuel screws underneath. If
they are capped off you will have to carefully drill out the caps with a 5/32" bit and pull them out using a #10 wood
screw. It is probably best to completely remove the carburetor bank and do this job on the bench. Set the fuel screws
to 3 turns out from full seated. Reassemble and remember your flat spot fondly.
Loosen the carb clamps and lift the carburetor bank up so that you can access the fuel screws underneath. If
they are capped off you will have to carefully drill out the caps with a 5/32" bit and pull them out using a #10 wood
screw. It is probably best to completely remove the carburetor bank and do this job on the bench. Set the fuel screws
to 3 turns out from full seated. Reassemble and remember your flat spot fondly.
Of course an alternative to the above is to install an Ivan's Jet Kit when you have disassembled everything.
Order your Ivan's Kit by calling (845) 362-1212
|
|
|
|
|